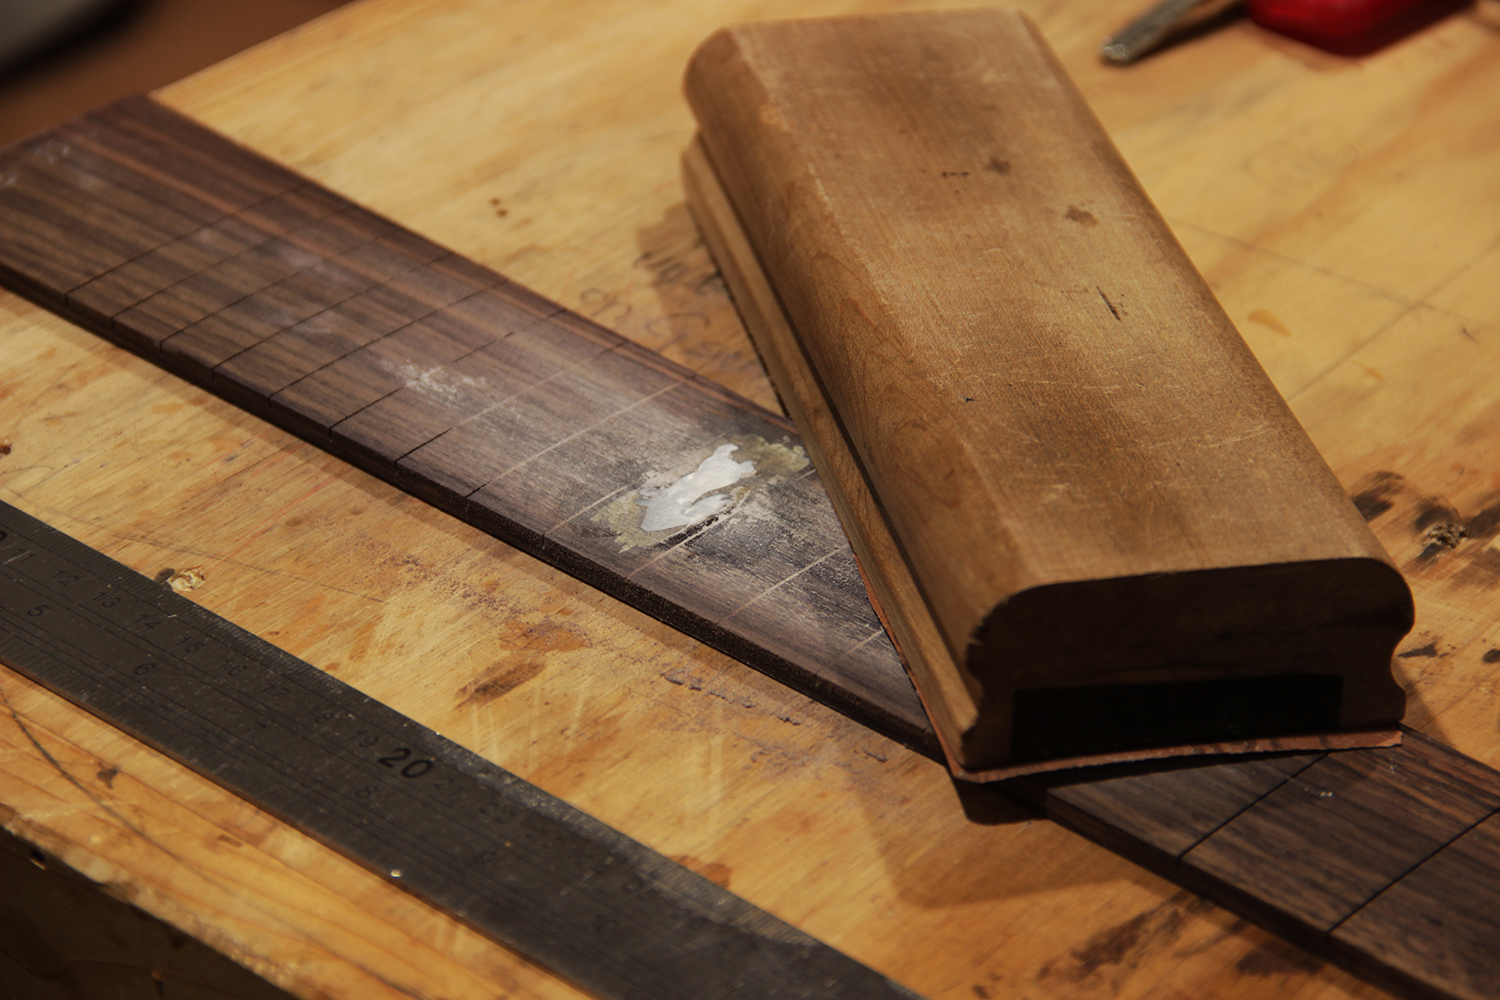
I had left the rabbit inlay to dry the previous workshop day so I got to take off the clamps and sand it down. After sanding it down, I saw that there were quite a few holes that were cheeky enough to escape the pressure so I had to fill them back up with epoxy again.
Mandarin smile!
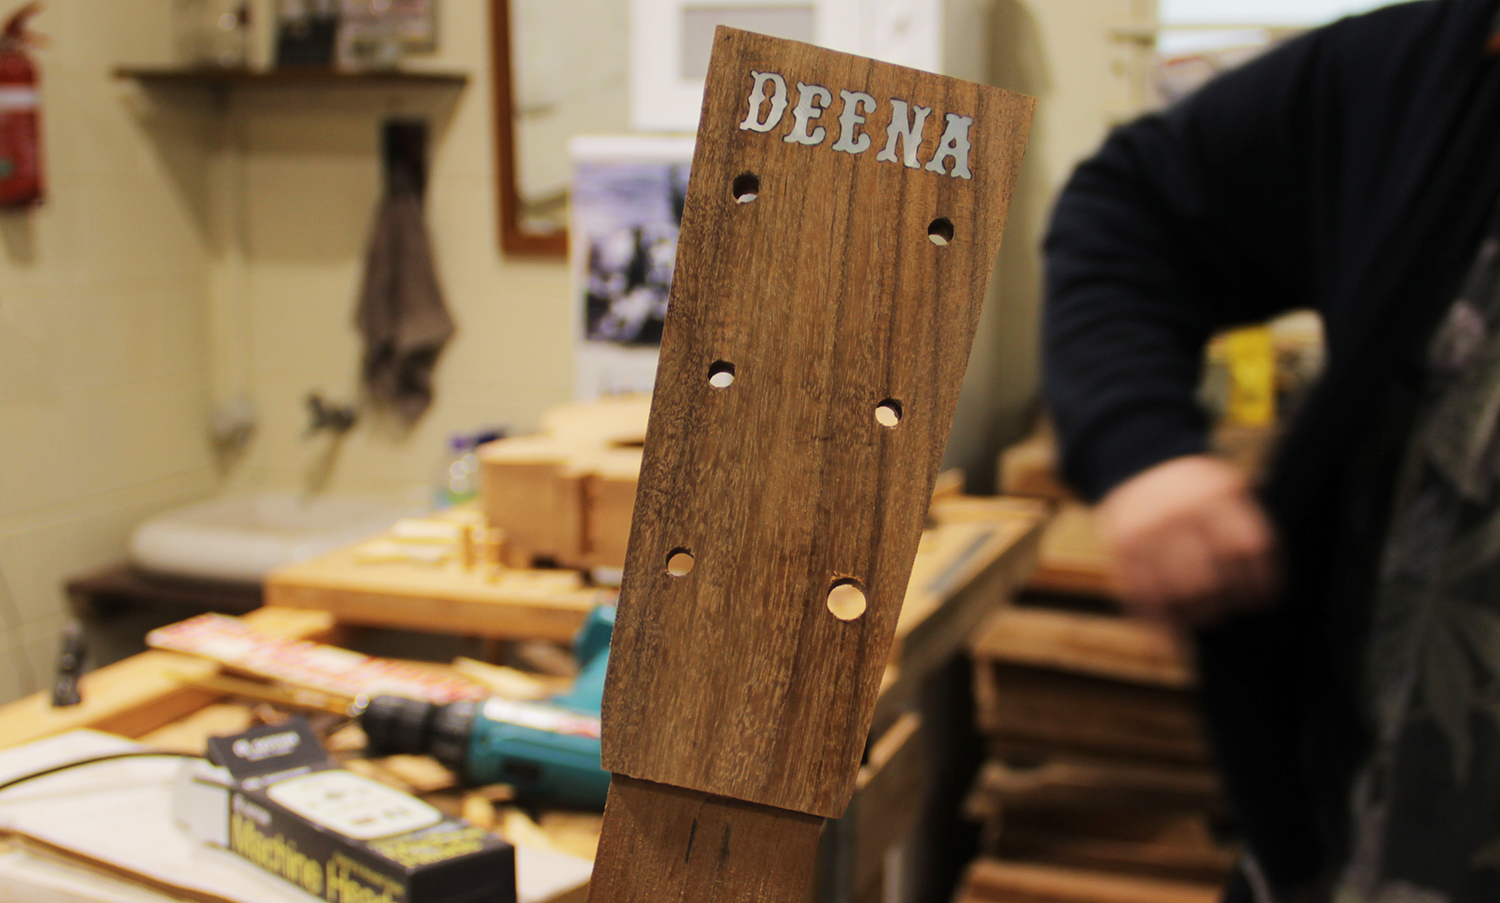
The same thing had also happened with my headstock inlay and it went through quite a few rounds of epoxy to get all the gaps out. But it was now time round the corners of my headstock.
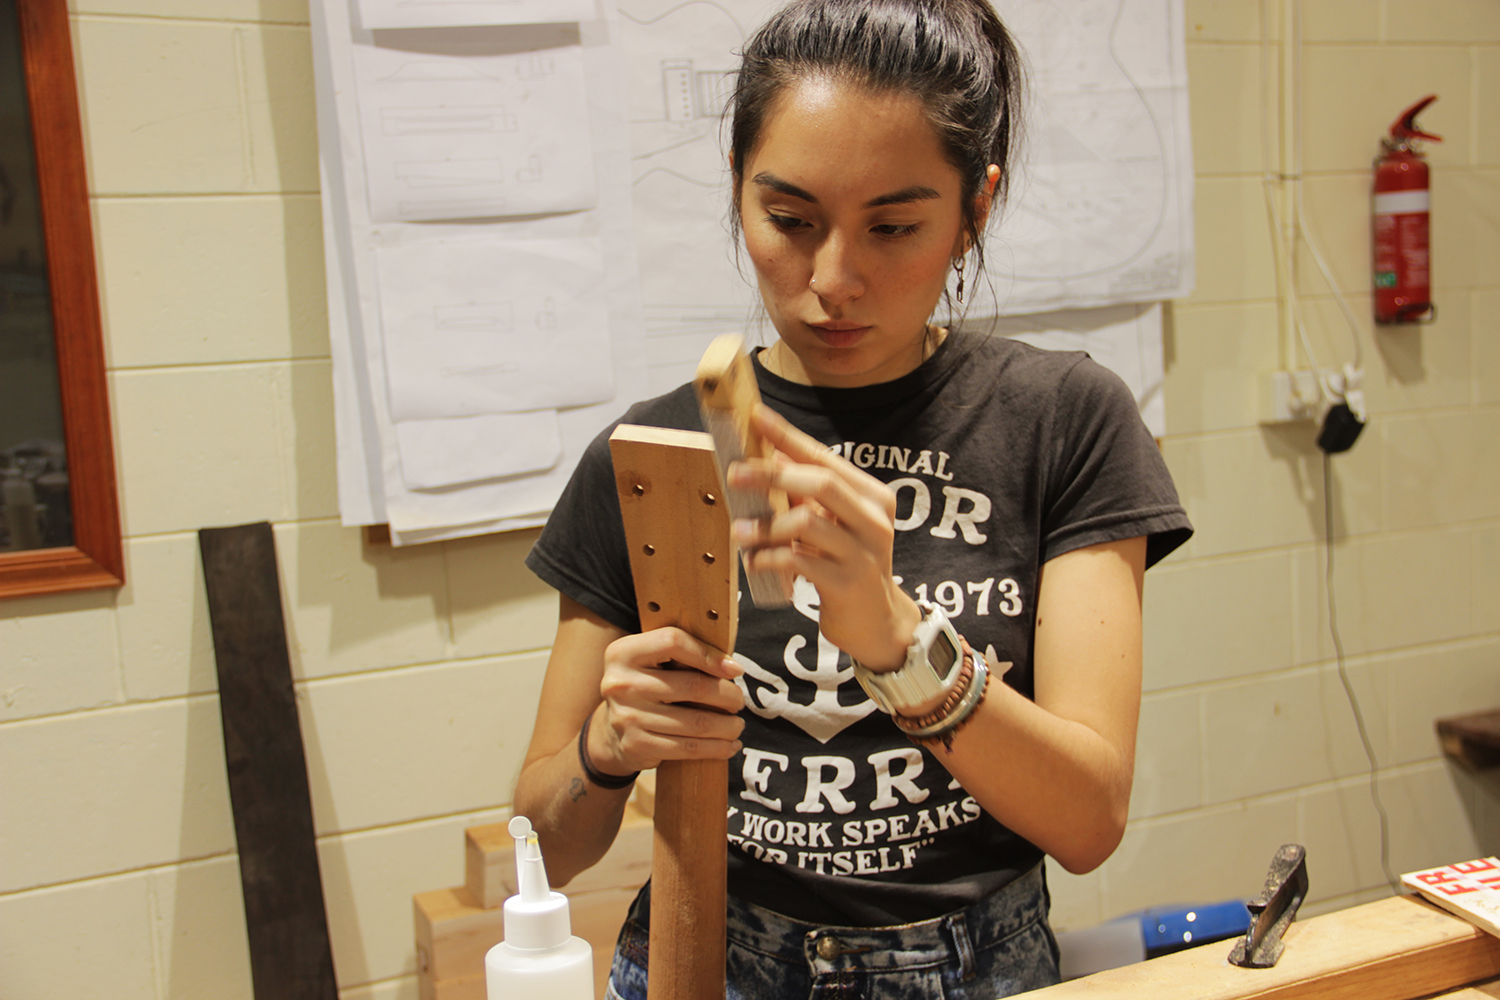
With sandpaper, all it needed was a little bit of rounding off so it really didn’t take all that long.

Afterwards, I sanded down my bridge and made sure that the back of the bridge got some harsh grit scratched into it. This allows for the glue to seep in better and lock it in to the body as opposed to a really smooth surface.
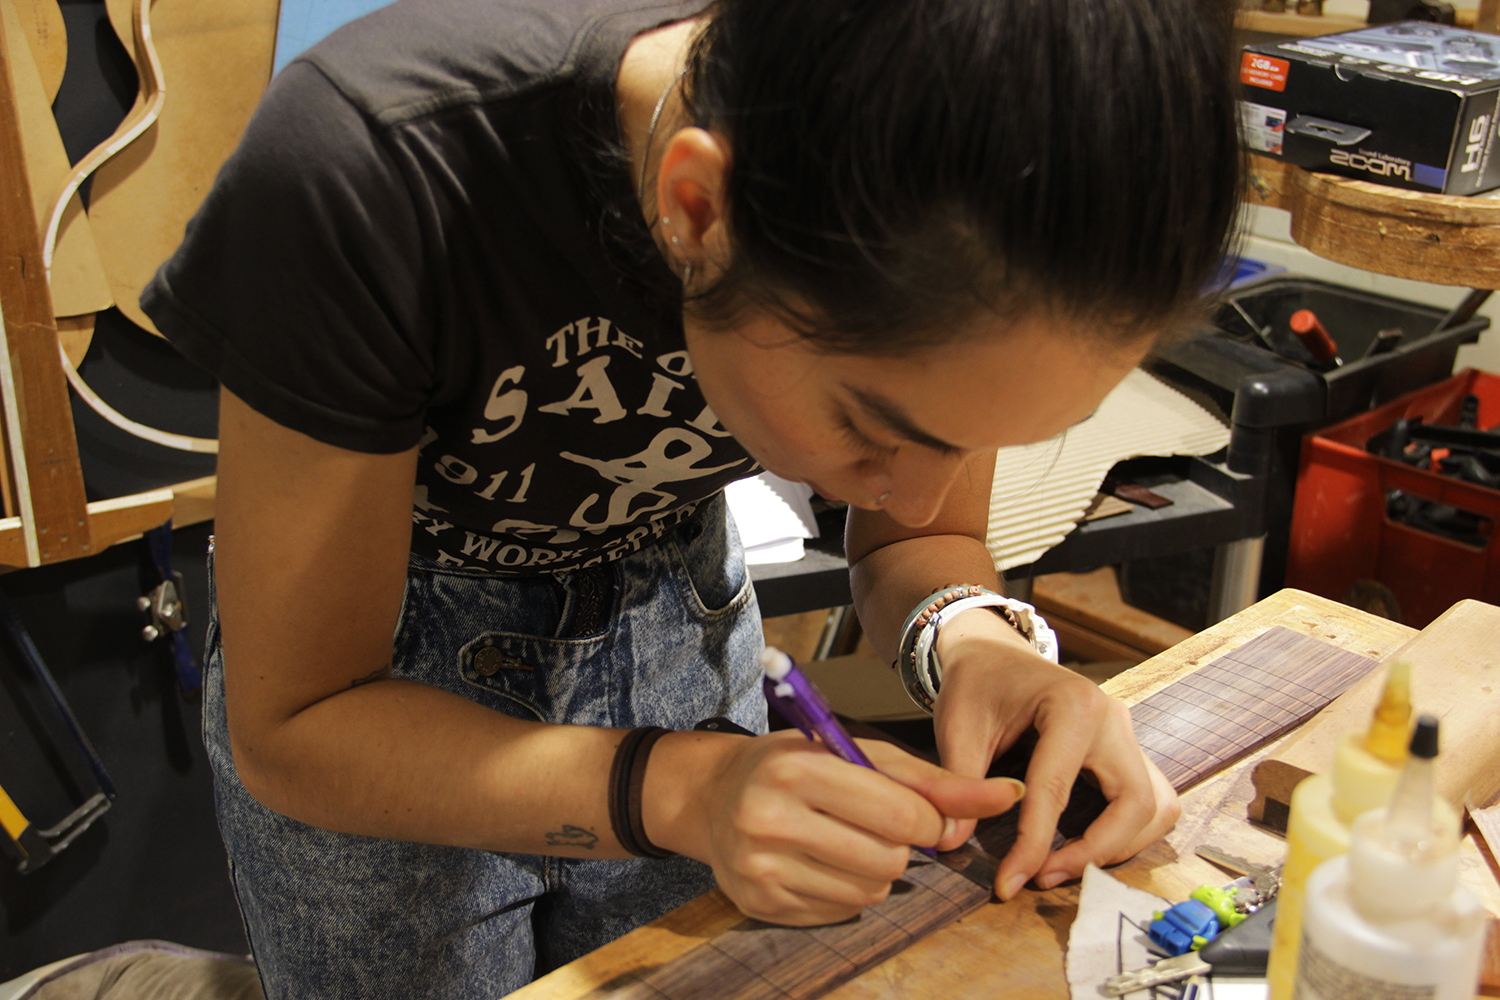
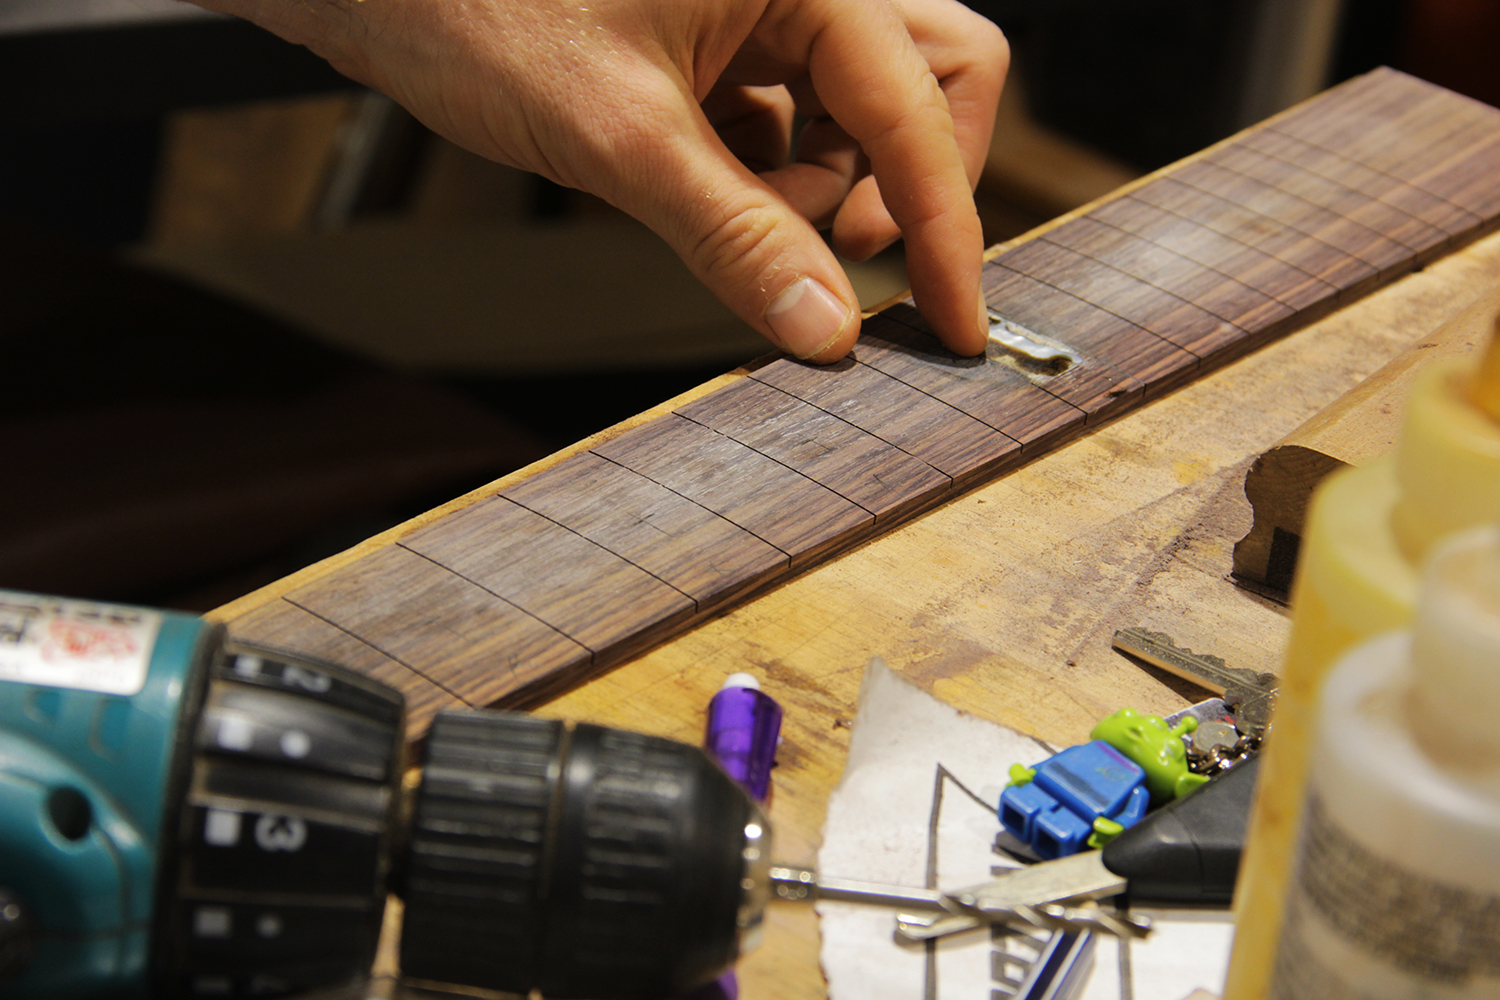
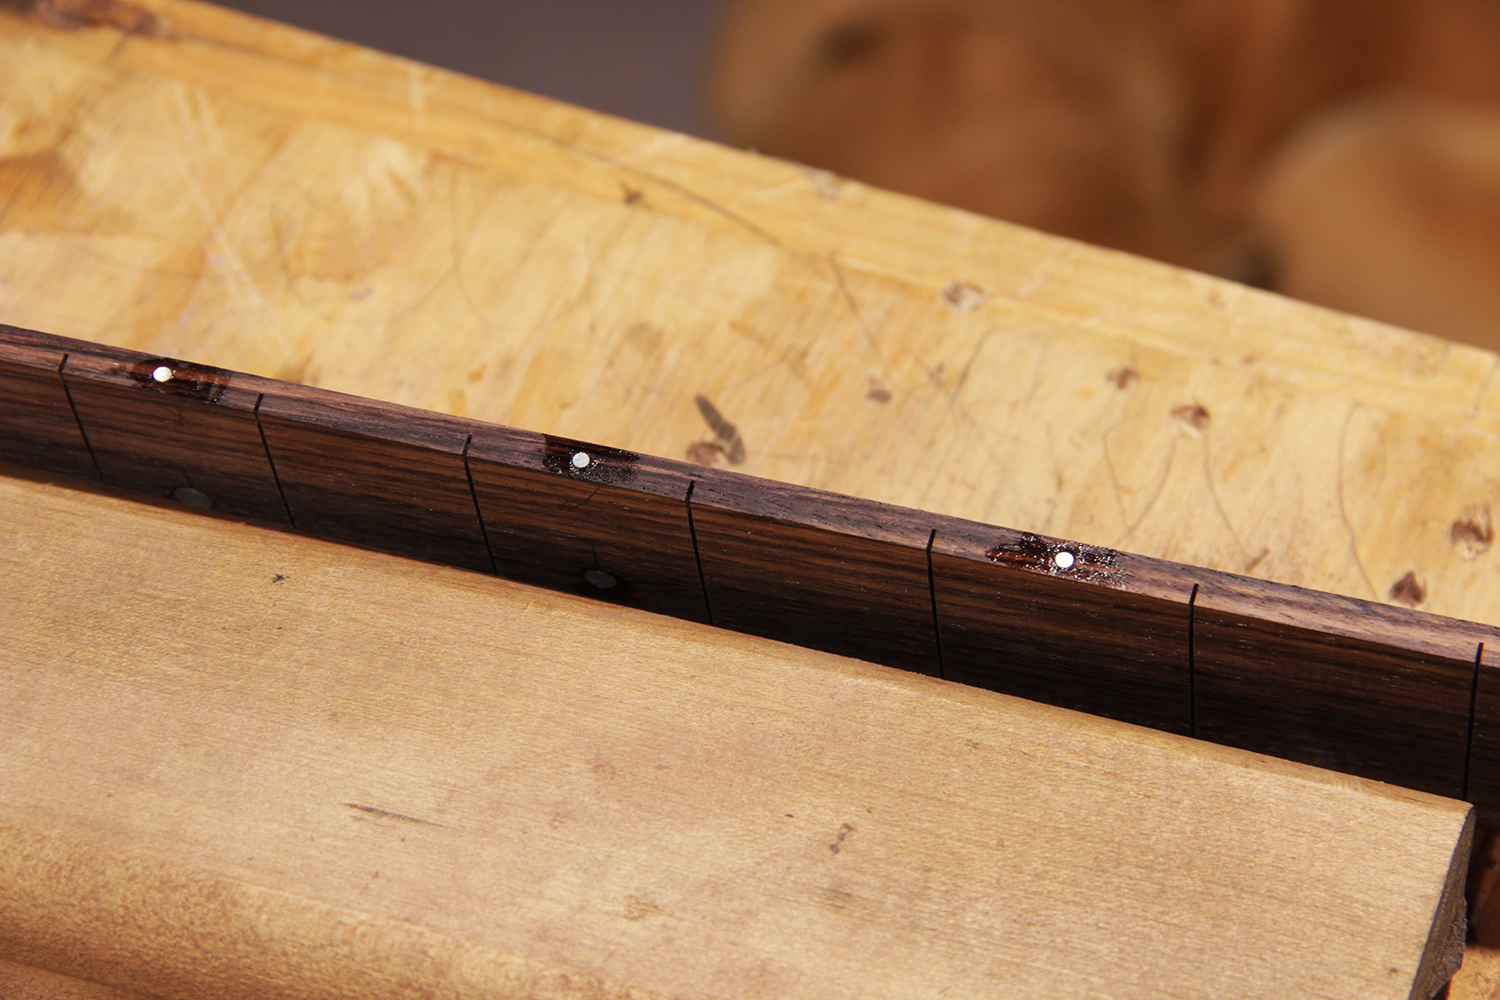
I then continued on with my fretboard in lay. Using a ruler I measured out where the dots would be in the centre. The dots were placed in just using super glue as they are a perfect circle and won’t need much fill in which the epoxy has done for the other inlays. I then used a drill that matched up with the diameters of each of the circles, poured super glue into it and dropped them in.
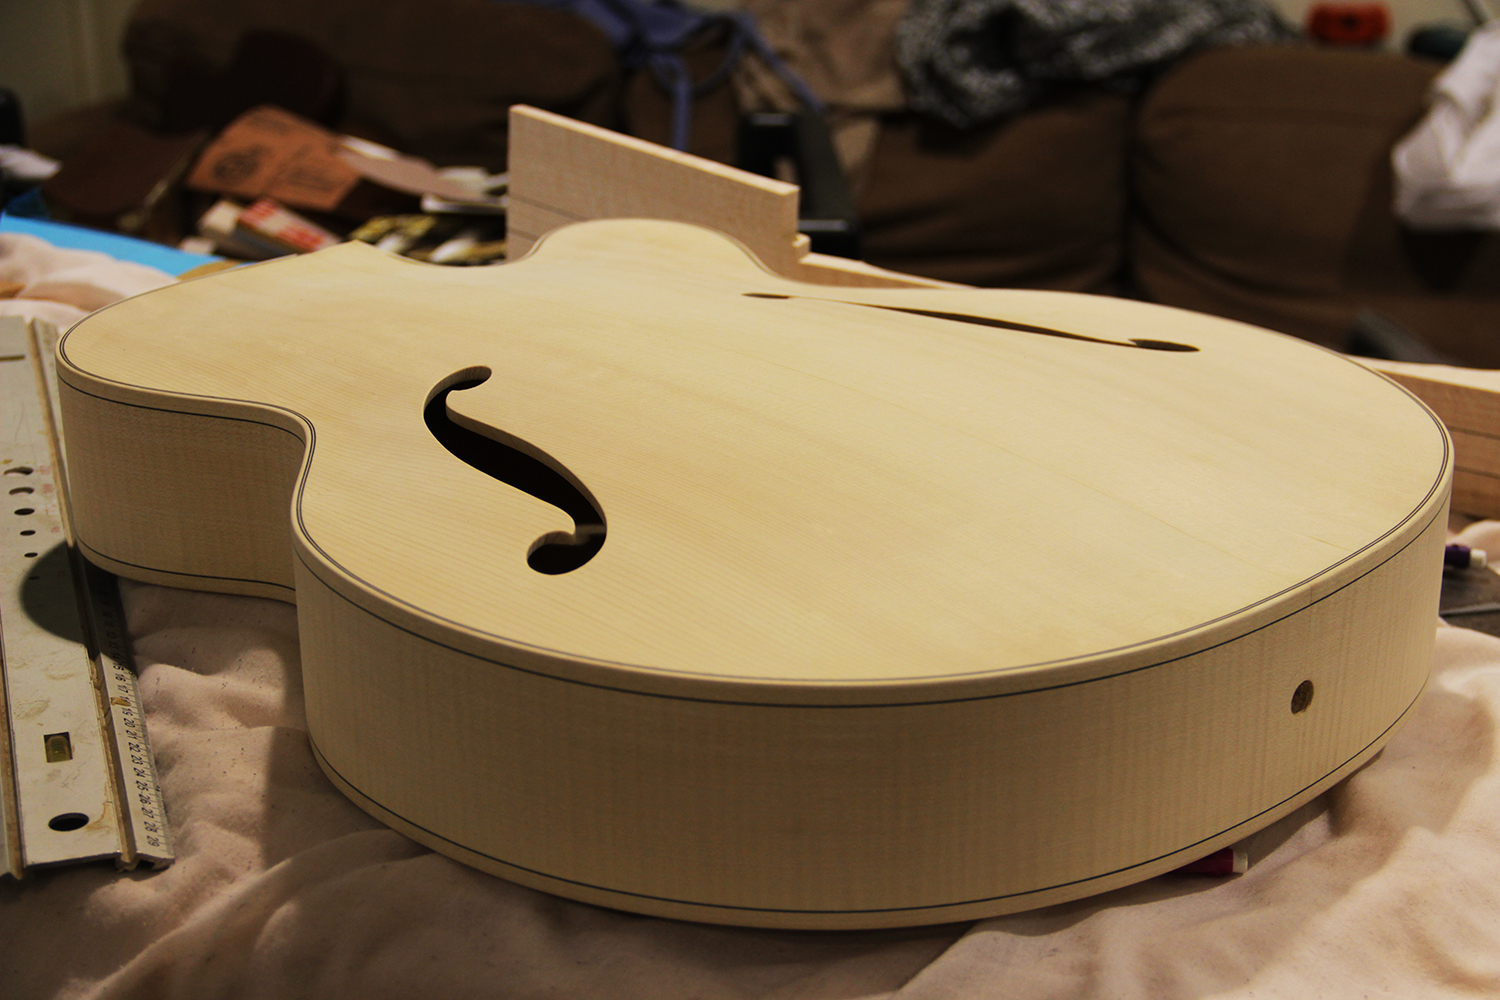
Hancock Guitars are prepping themselves for the Guitar Making Festival down in Melbourne so they’re trying to get this little archtop baby ready for showing. It is looking dreamy. That maple is absolutely gorgeous.
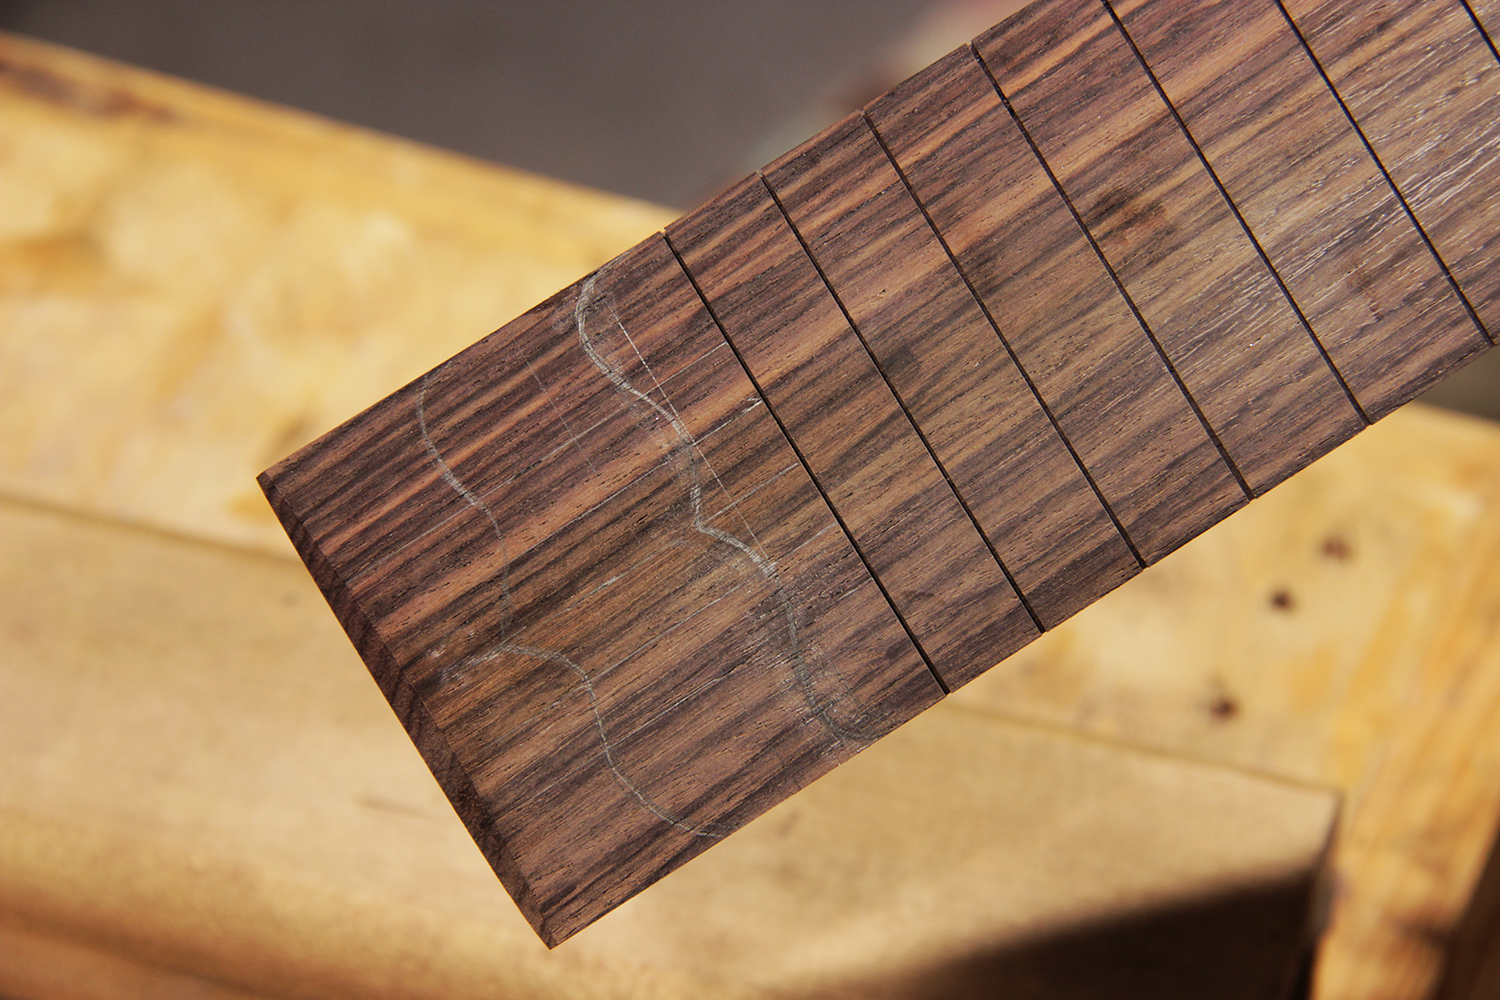
I then decided that I didn’t just want a flat edge to the end of my fretboard so I freehand drew a curve that I wanted. Once I was happy I traced one half of it onto tracing paper and made a little cardboard template to replicate it onto the other side so that they were mirrored.
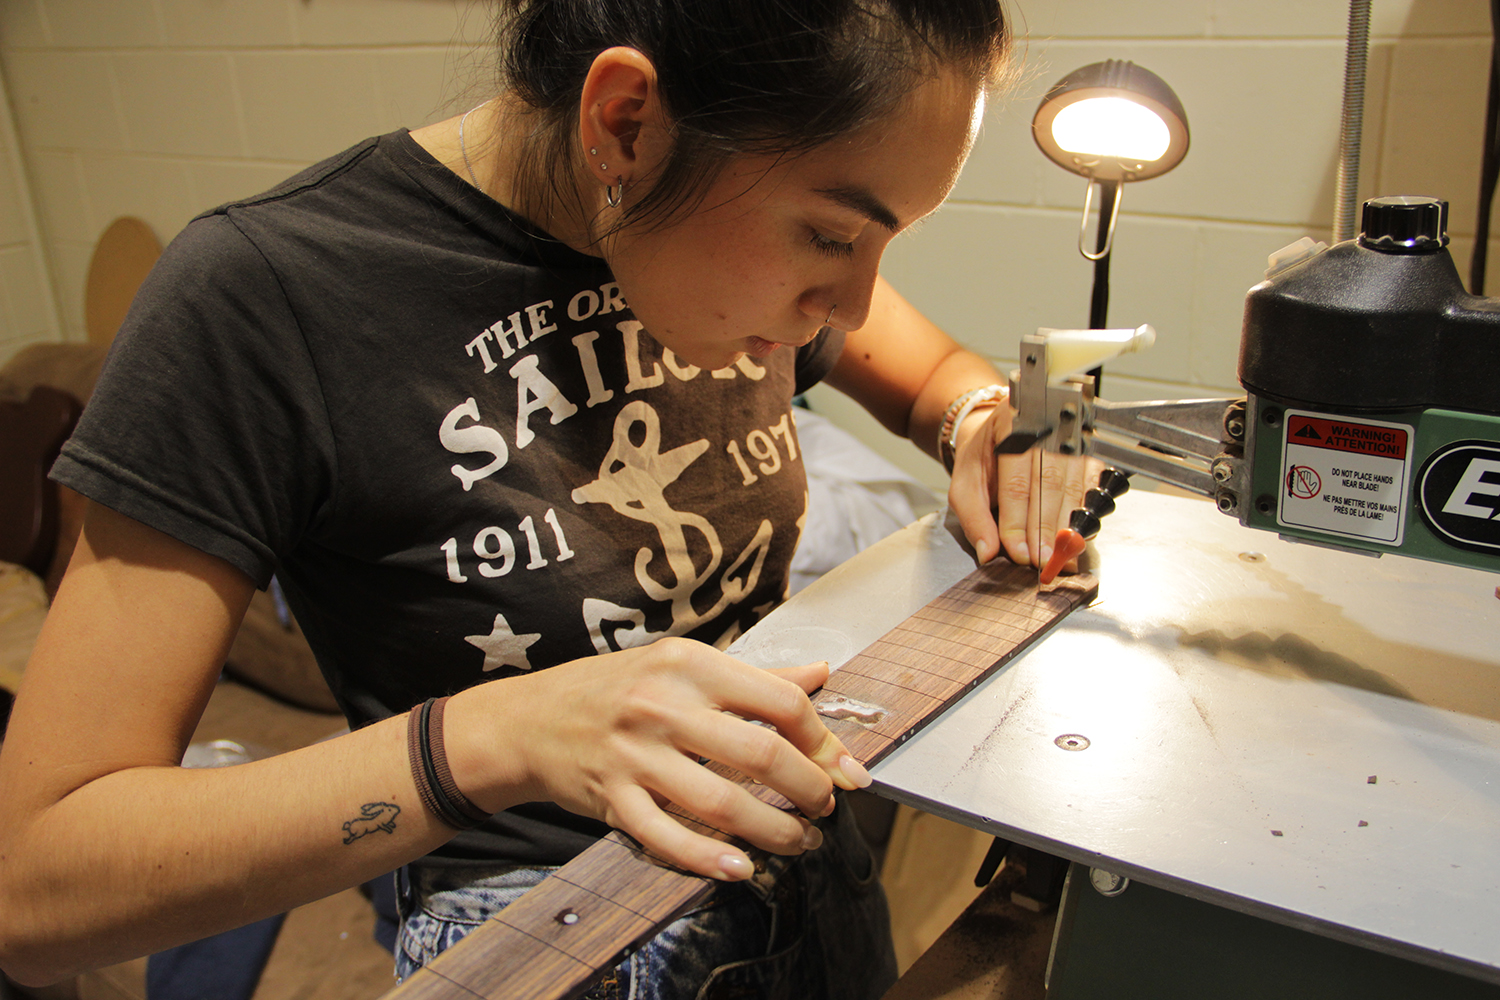
On the very scrap end I decided to do a practise round on the scroll saw. Super glad that I did let myself have a trial as I totally did not get the hang of the scroll saw in my first go. It was atrocious haha. When I went for the real one, I left 1 or 2mm space to accommodate for human error and made a better attempt. I then got it closer to the line by just sanding it down.
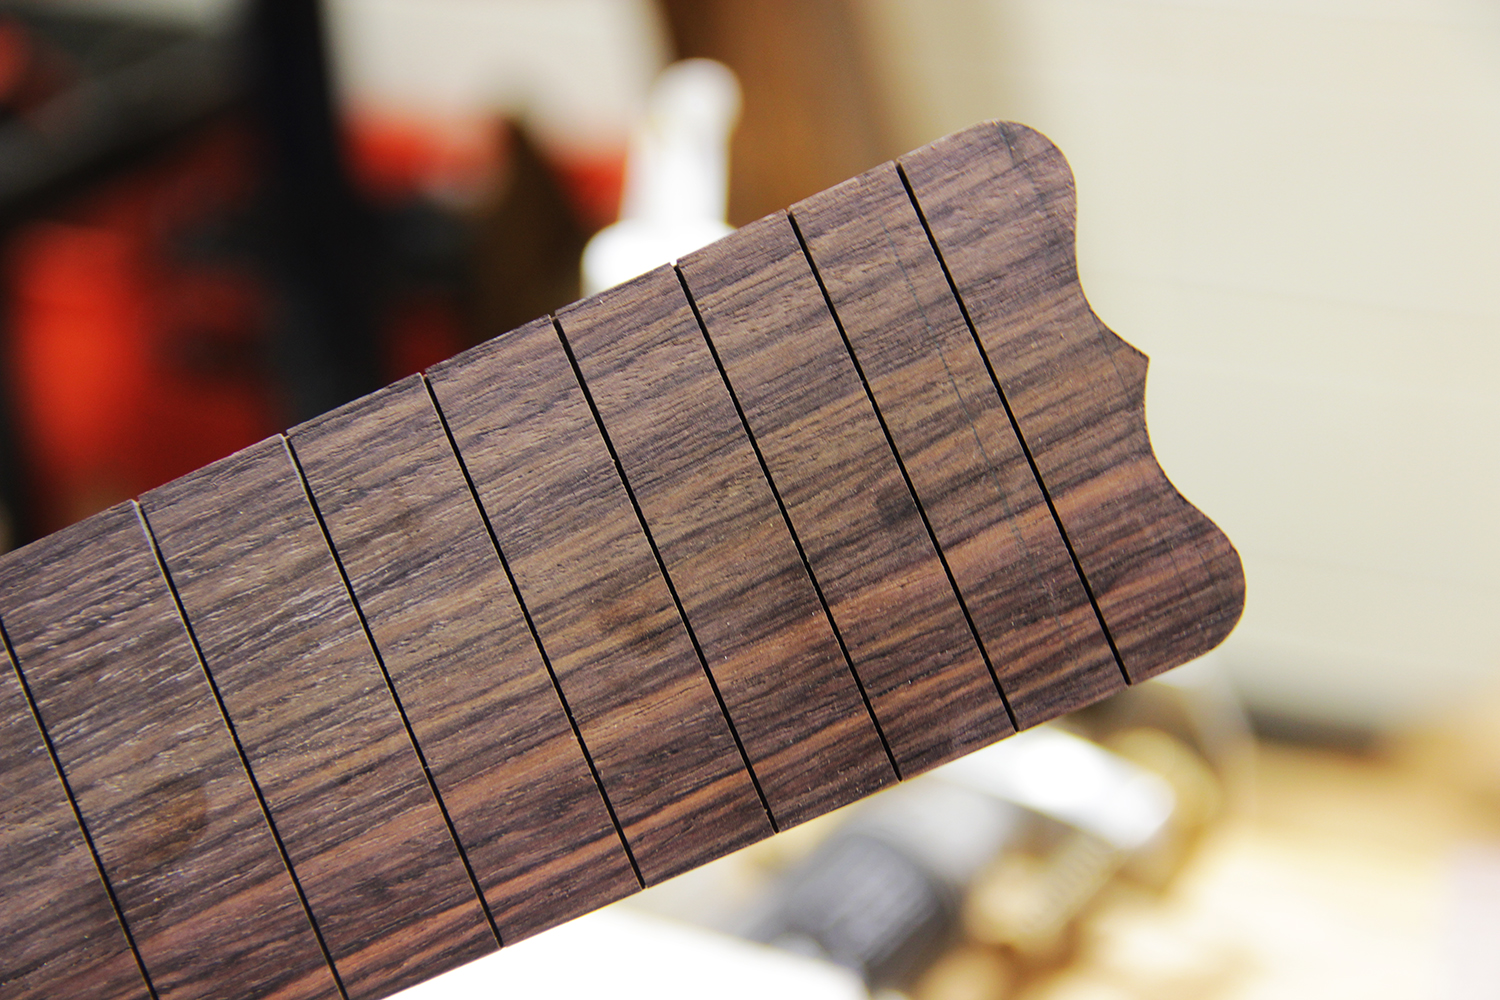
And then – voila! Here is the end of my fretboard! So happy with it! I then rounded the edge on the top at a slight 45 degree angle so that it wasn’t just a harsh cut.
Comments are closed.