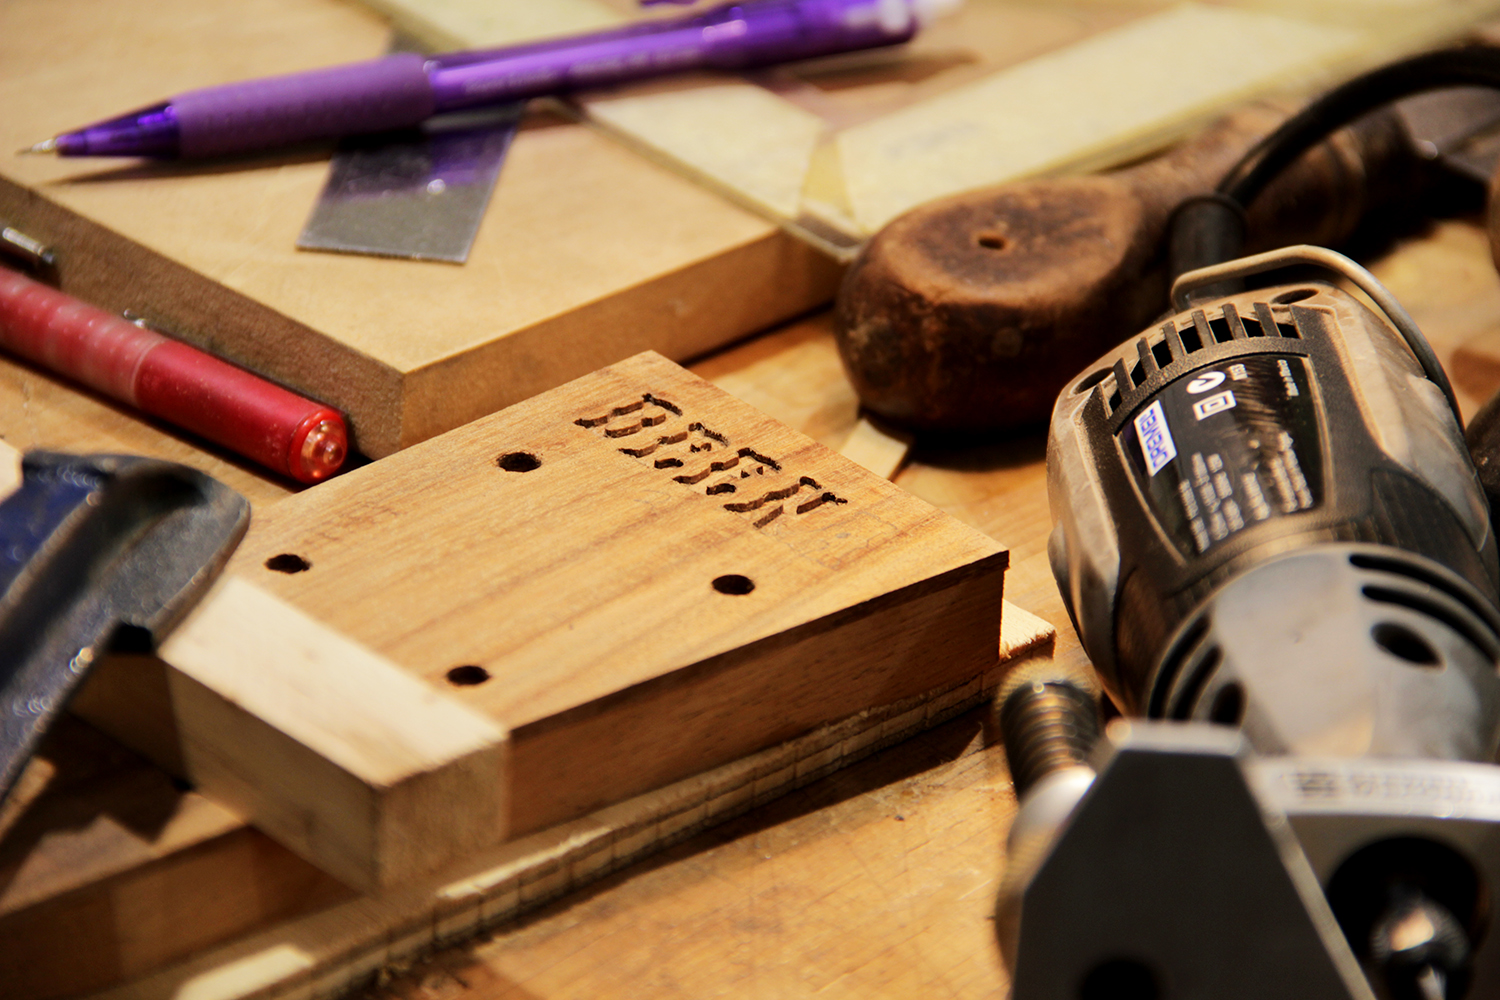
Spent most of the day routing out the channel for my inlays to sit in. That was a fidgety process – you had to be careful not to take out too much, otherwise you’ll see the gaps that were being filled by the epoxy. Obviously, being handmade and not using a CNC machine does mean that there are going to be gaps as I won’t be able to get it correct to the millimetre. I took my time and was pretty happy with how I ended up doing with my letters. Just a few little silly bumps but.. let’s just turn a blind eye to it.
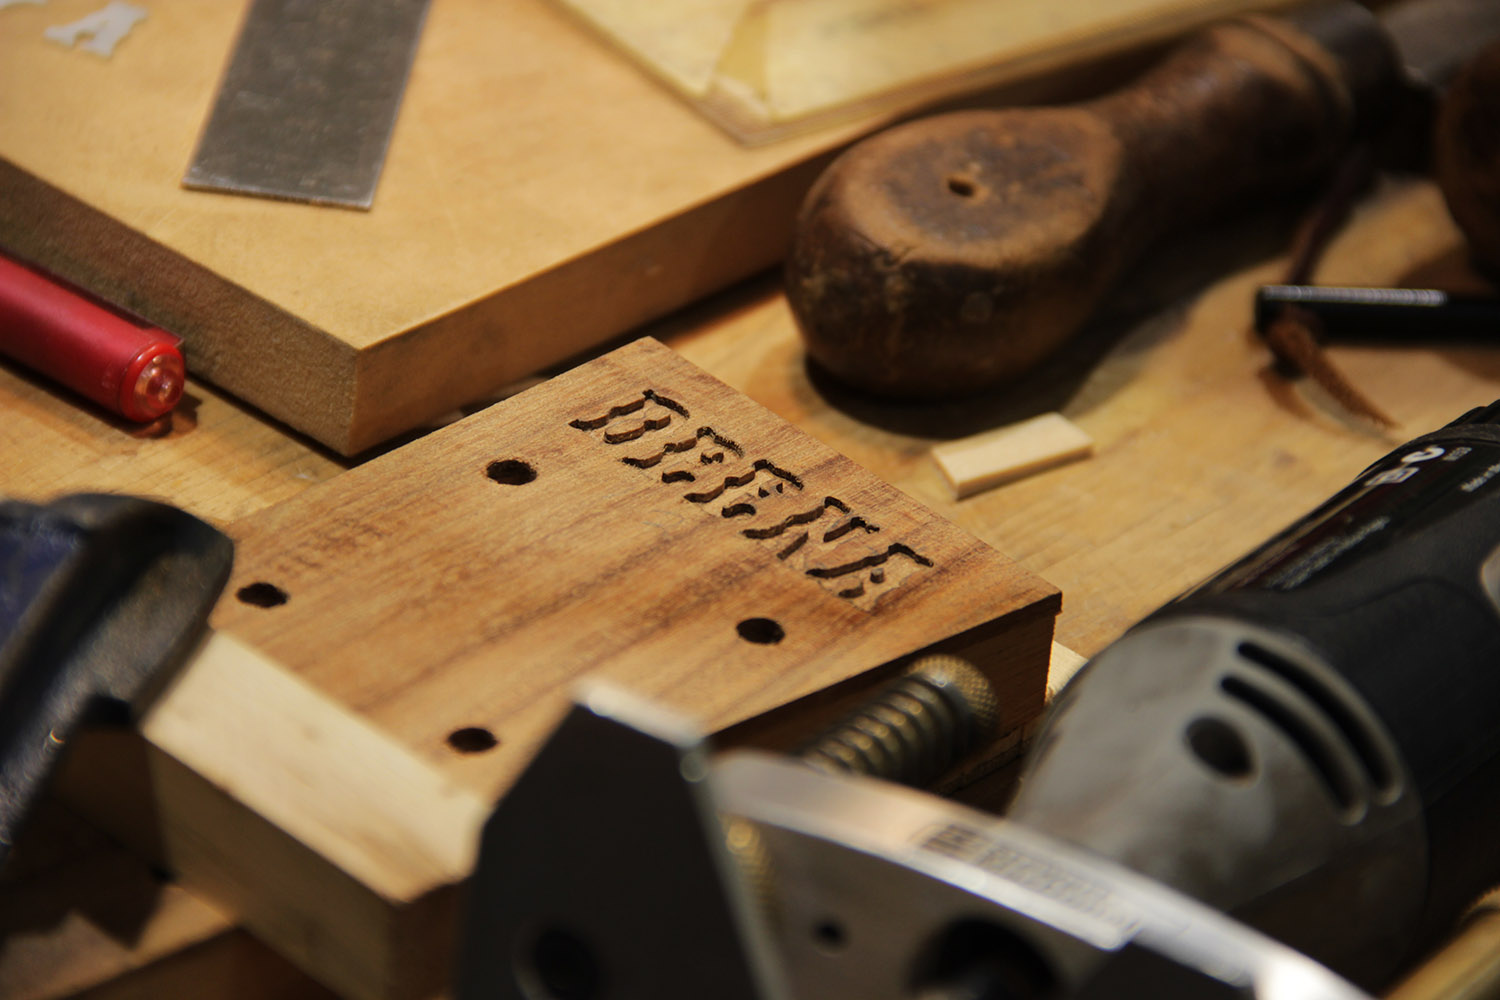
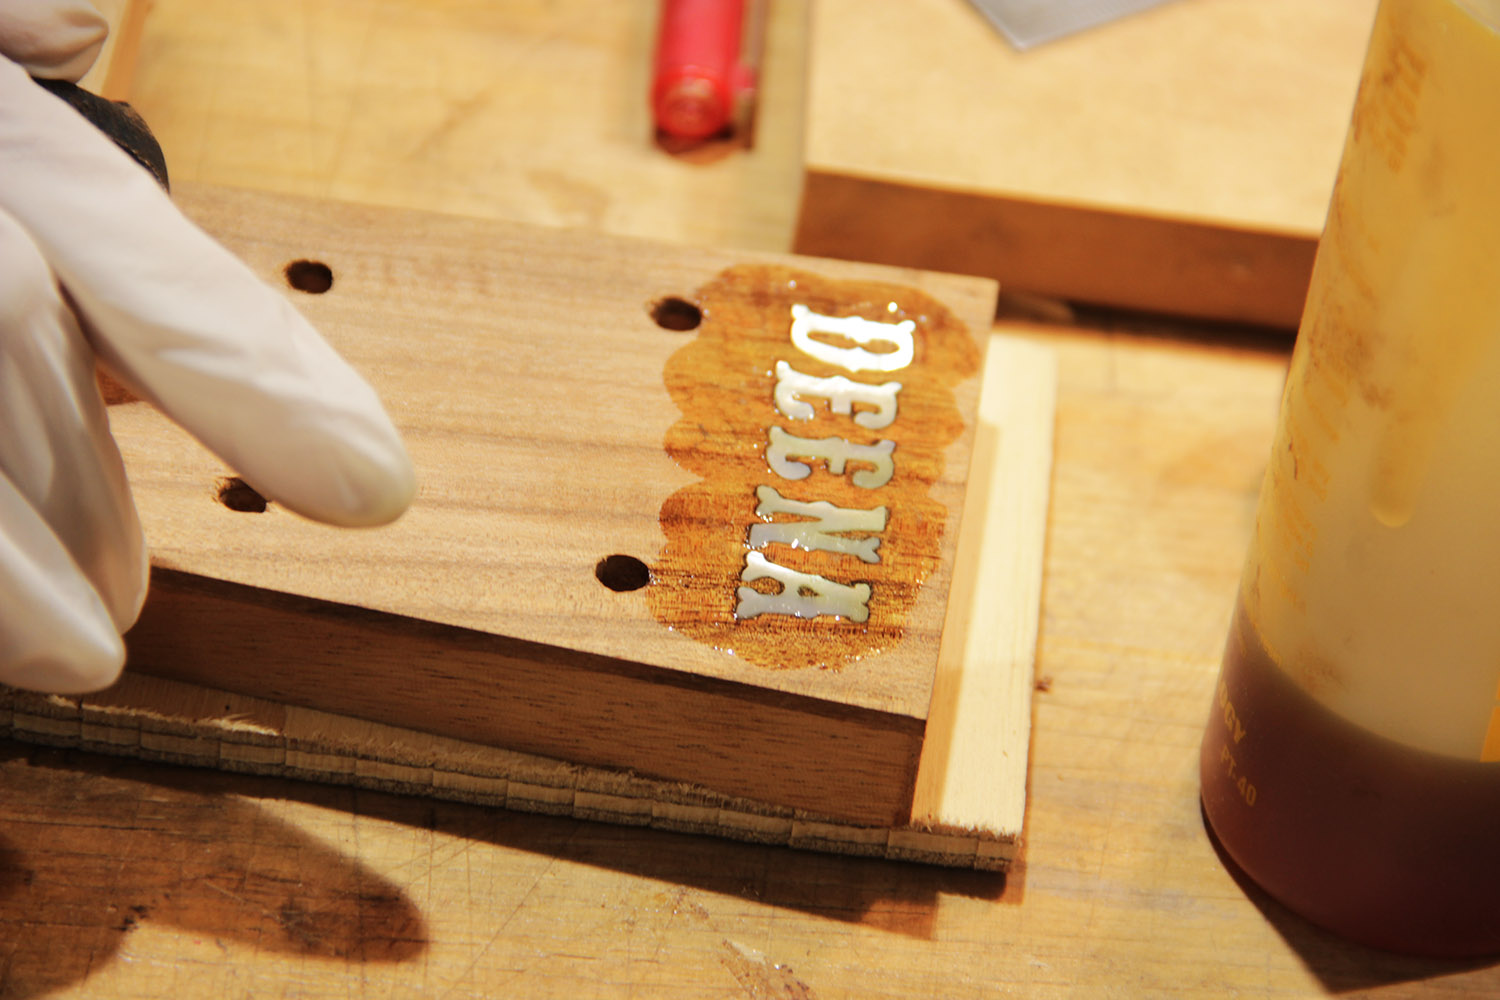
I ended up using just the epoxy as a clear as my Blackwood is a fairly light wood. Normally for darker ones like ebony or rosewood we would sand a bit of sawdust to colour the epoxy but it was better off using clear in this case. Once I inlayed it, I clamped it up to sit and dry for a few hours.
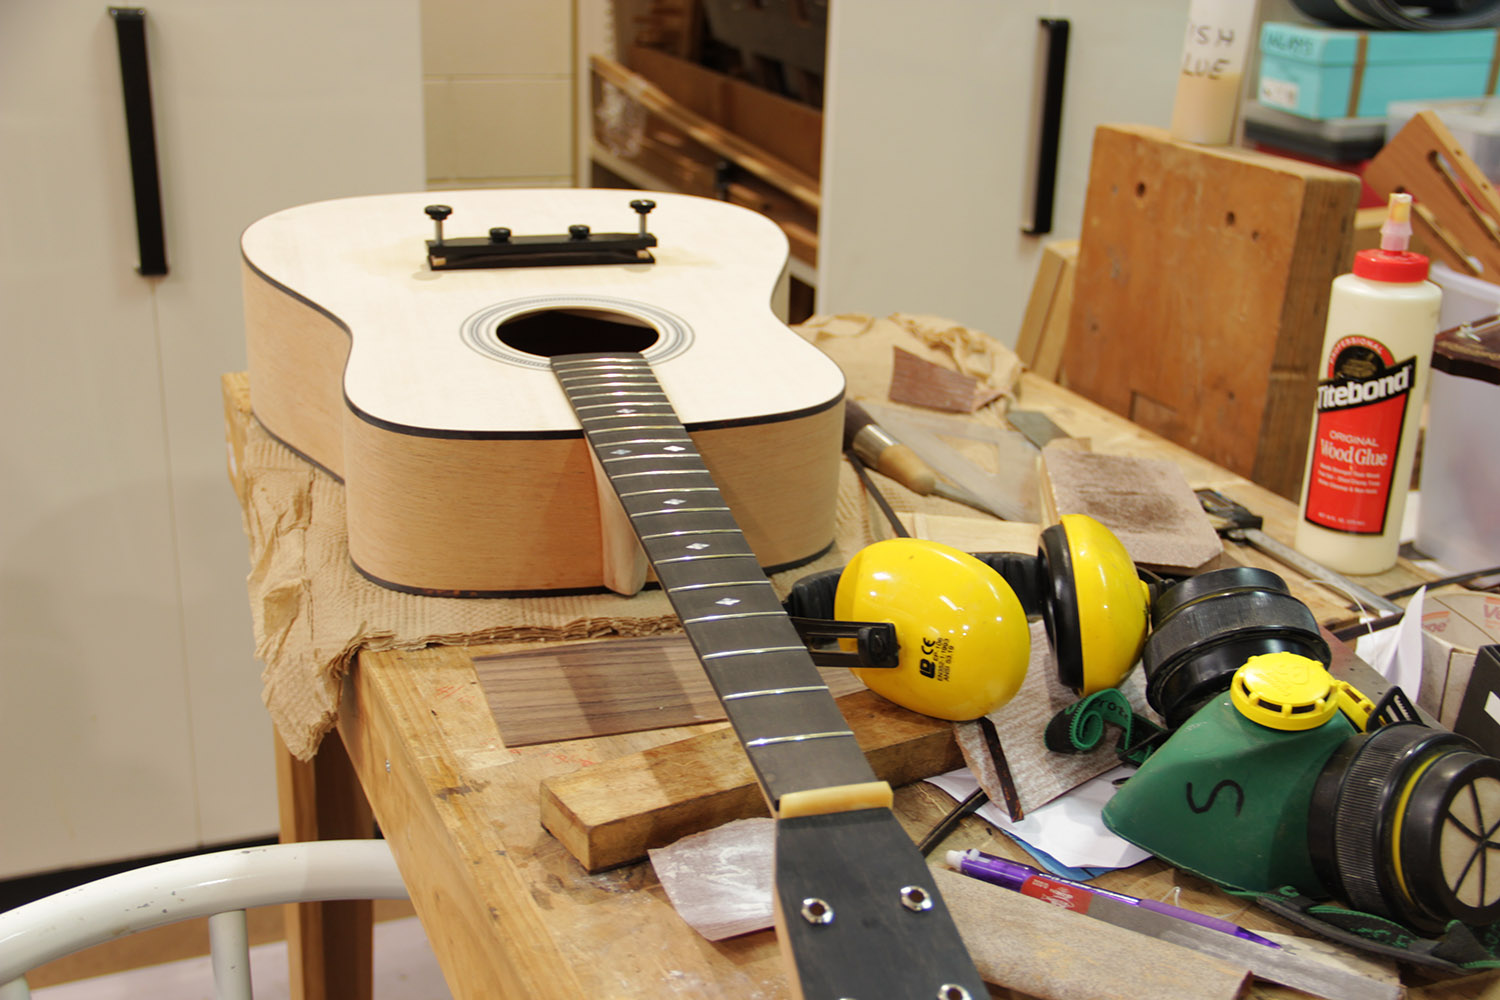
Tor’s guitar was all ready for putting on the bridge and nut, so good seeing his coming close to the end. I was jealous!
I got down to planing my top side so that it was flat and straight. The kerfing had a bit of leeway as well so I had to shave that down to meet the sides. It was critical that I was constantly measuring that it was sitting flat and was not being affected by the bowed curve of the back. The top half (where the cutaway and neck is) is also thinner than the bottom end so I was shaving it at different heights as well.
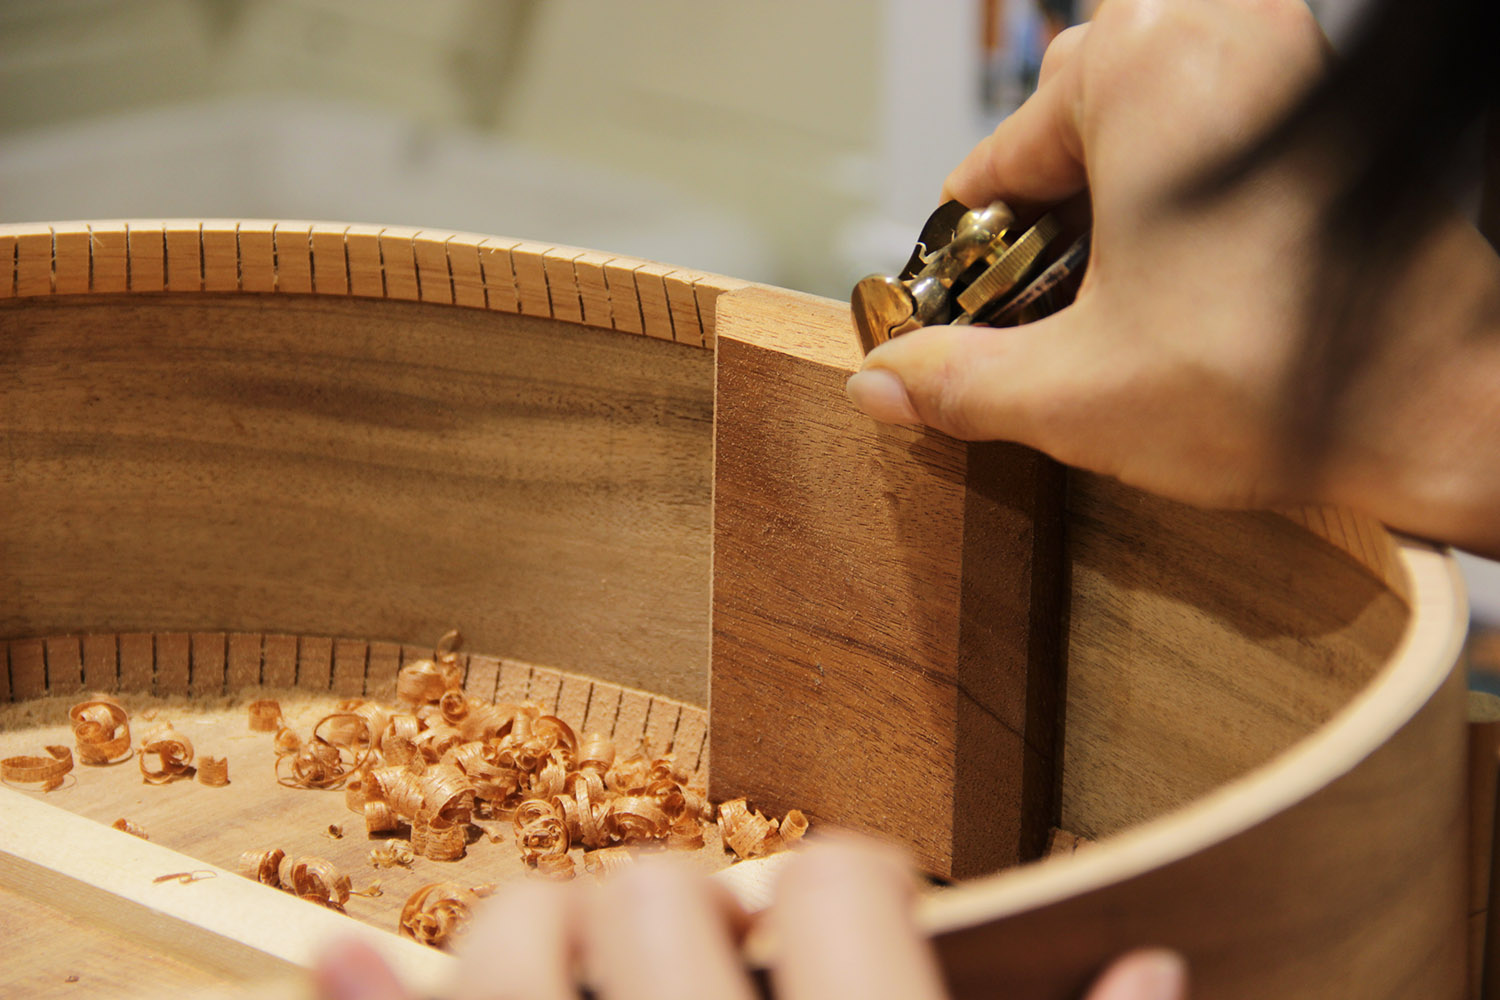
We then put the neck into the body to hold the neck block in straight as we worked on checking out the unwanted kerfing to allow for the top bracings to slot in.
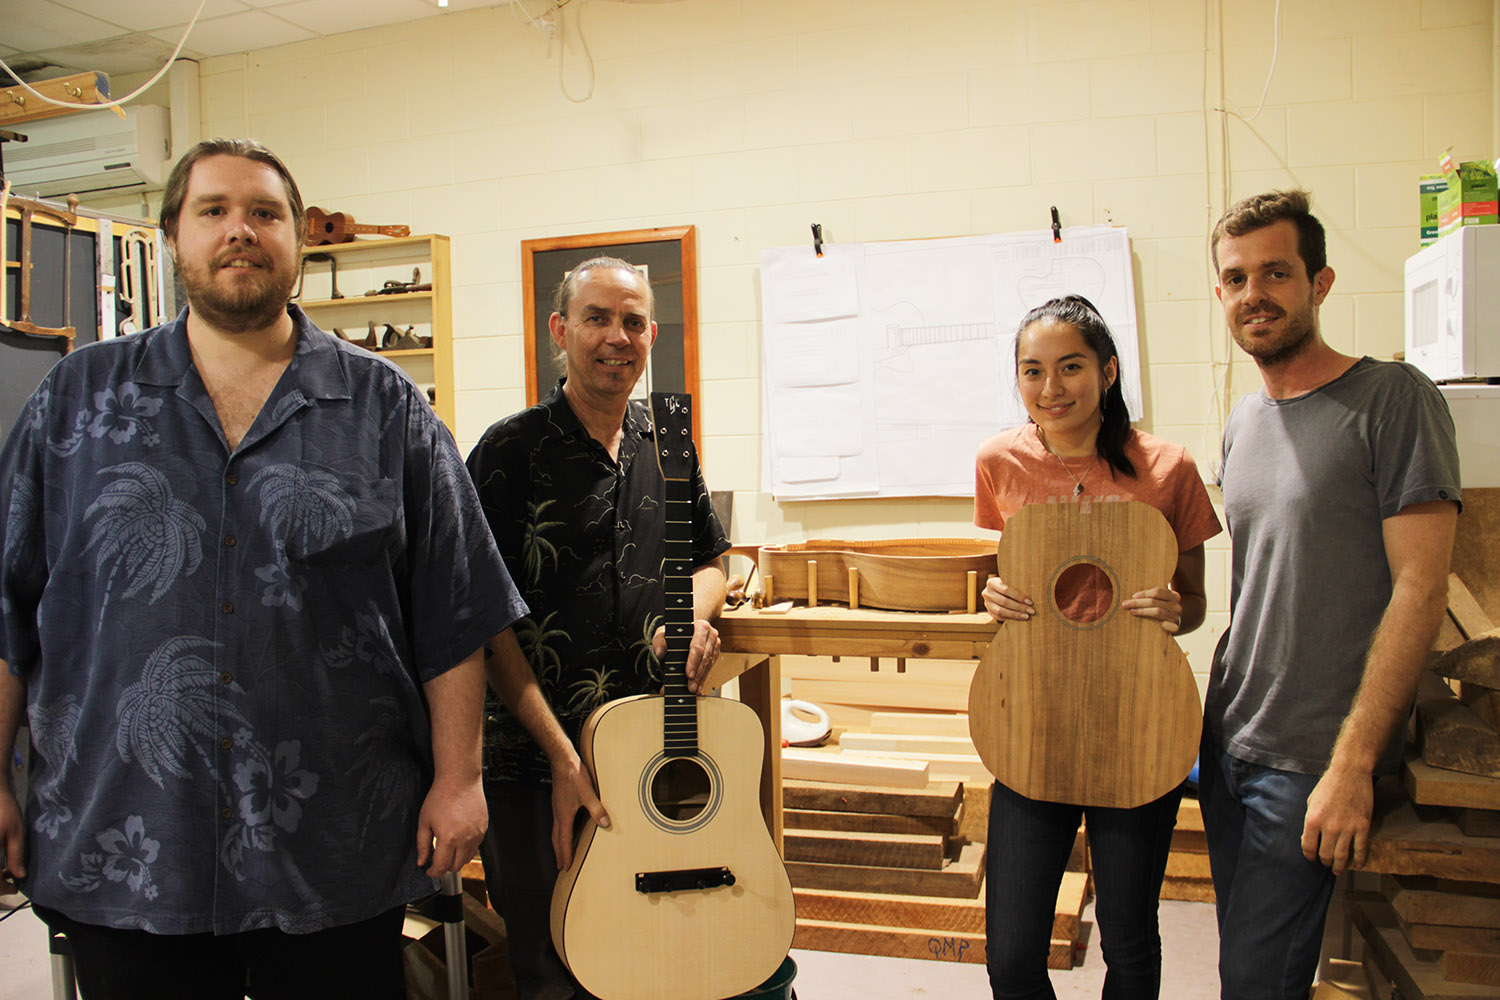
Group photo with Tor’s beautifully crafted guitar! Dane on the left and Sean on the right are the Hancock brothers that have taken over from their father who started the business. They have been great mentors in guiding the both of us to crafting our own unique instruments.
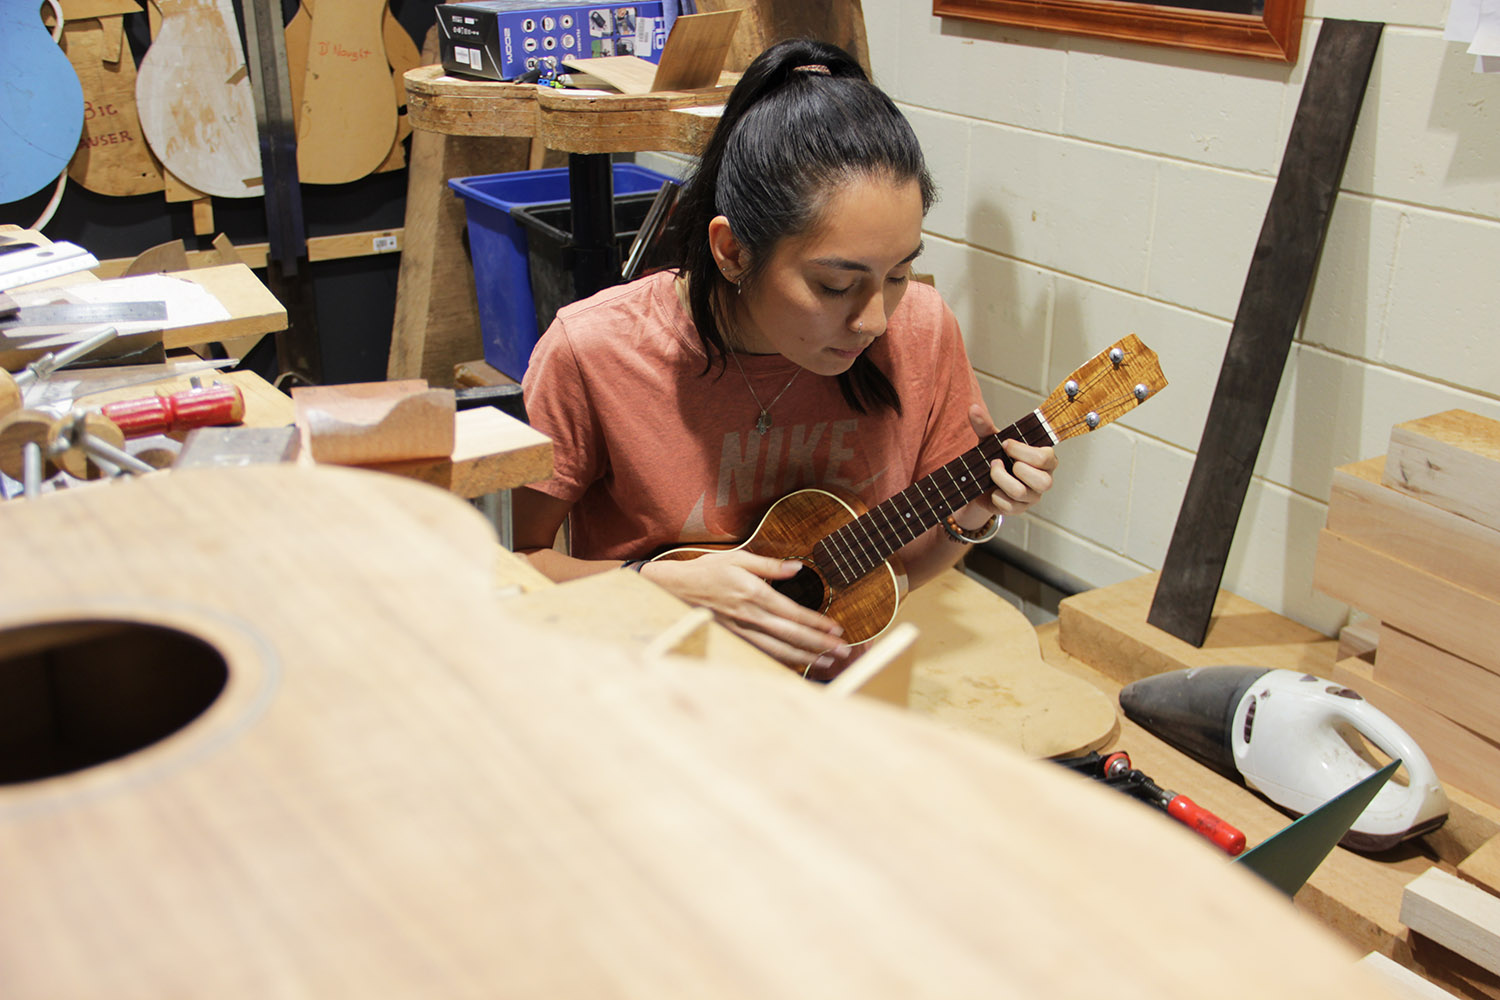
Had to have a little break and fiddle with one of their handmade ukuleles. Sounded a charm!
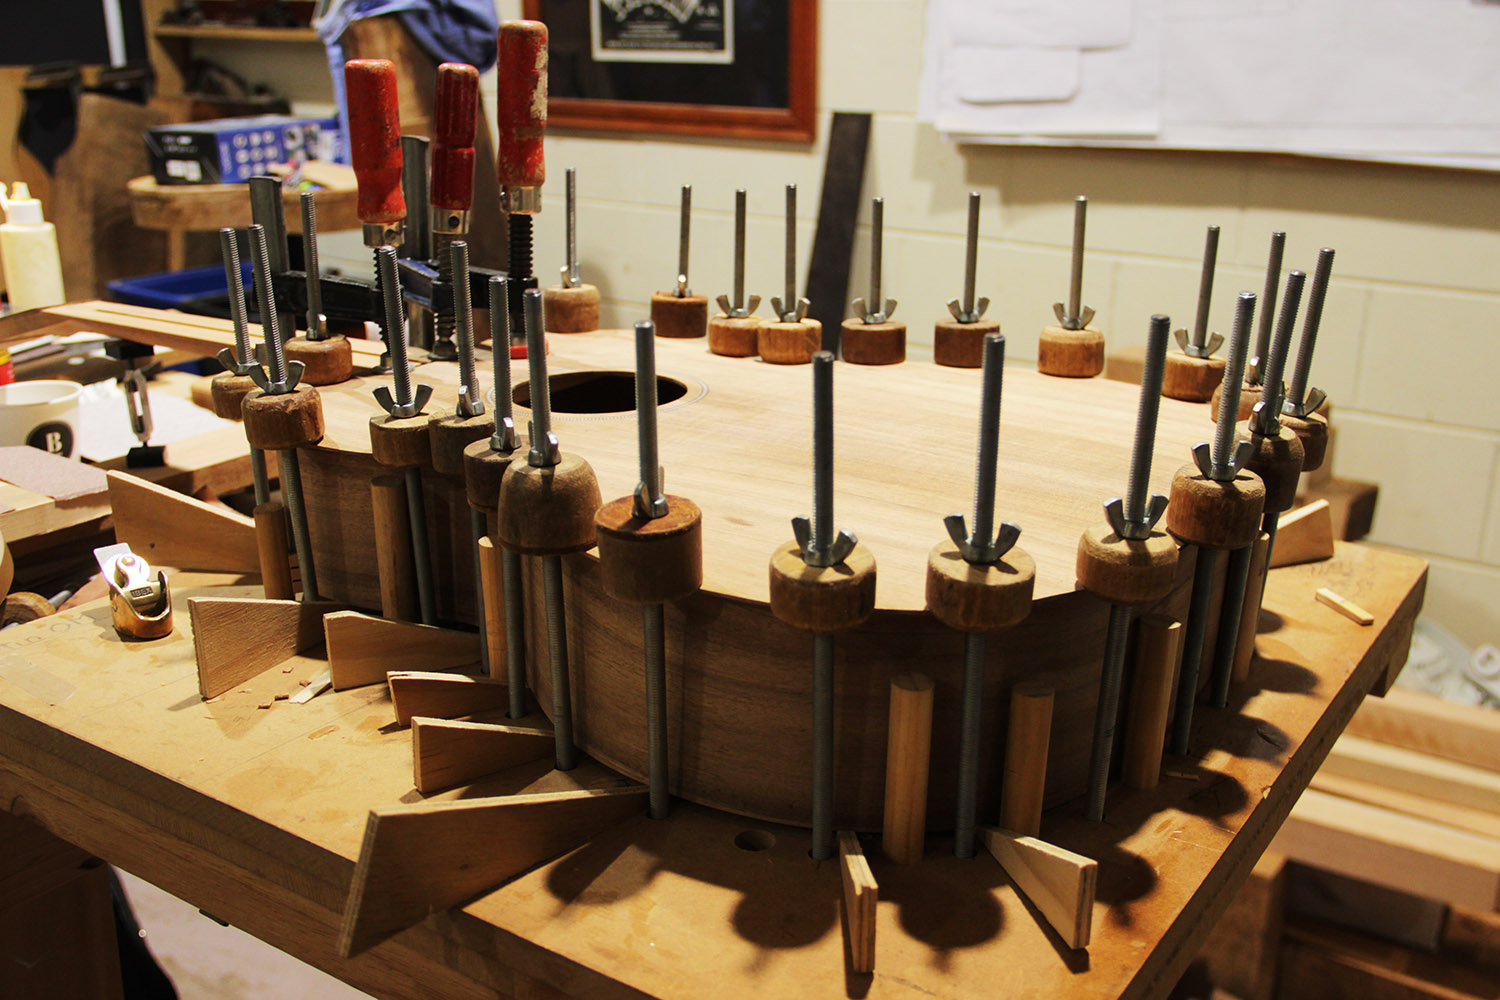
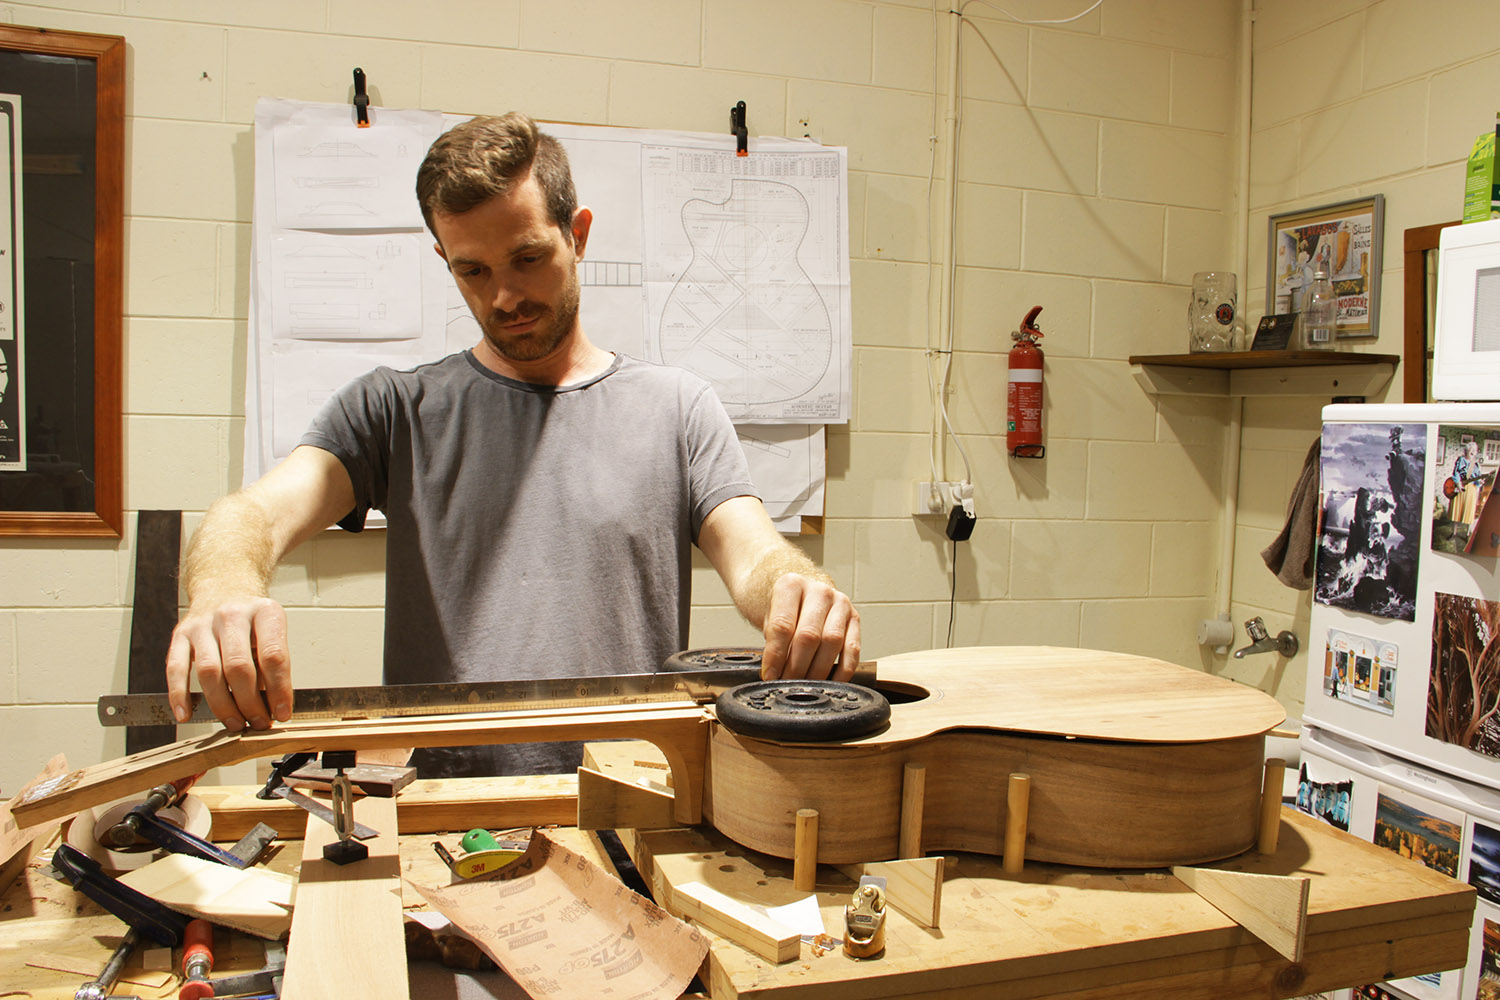
A better picture to show how we used the wedges to make sure the top was flat and not being affected by the bowed curve of the back. Once all the check outs were done from the kerfing, we glued the top on and clamped it evenly. Before I did that though, I signed my soundboard, its tradition to sign the soundboard as it is a somewhat sure way of saying who made it as it’s difficult to sign the soundboard properly once it has been glued on. As opposed to say a guitar with a fake signed back. Anyway, I HAVE A BODY NOW!!
My energy was starting to wear down at this point, being in the workshop for 11 days straight was something I wasn’t used to on top of being a musician with late gigs, I was knackered. It was so nice to hear Tor’s guitar being played. He’s going to be taking it home to wax/polish it on his own.
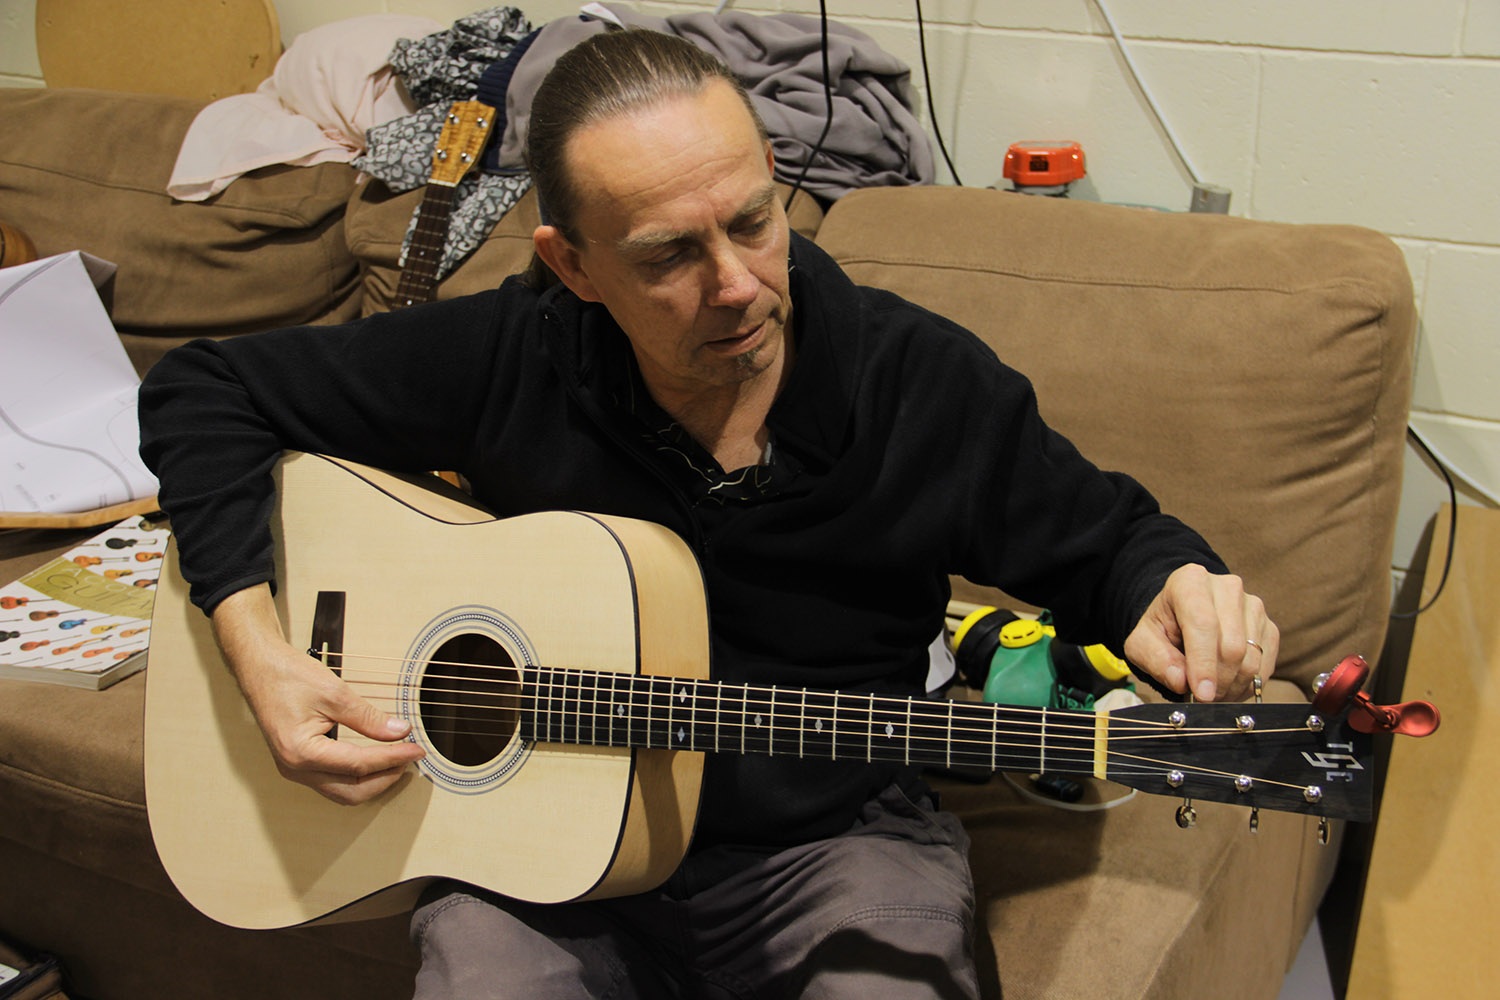
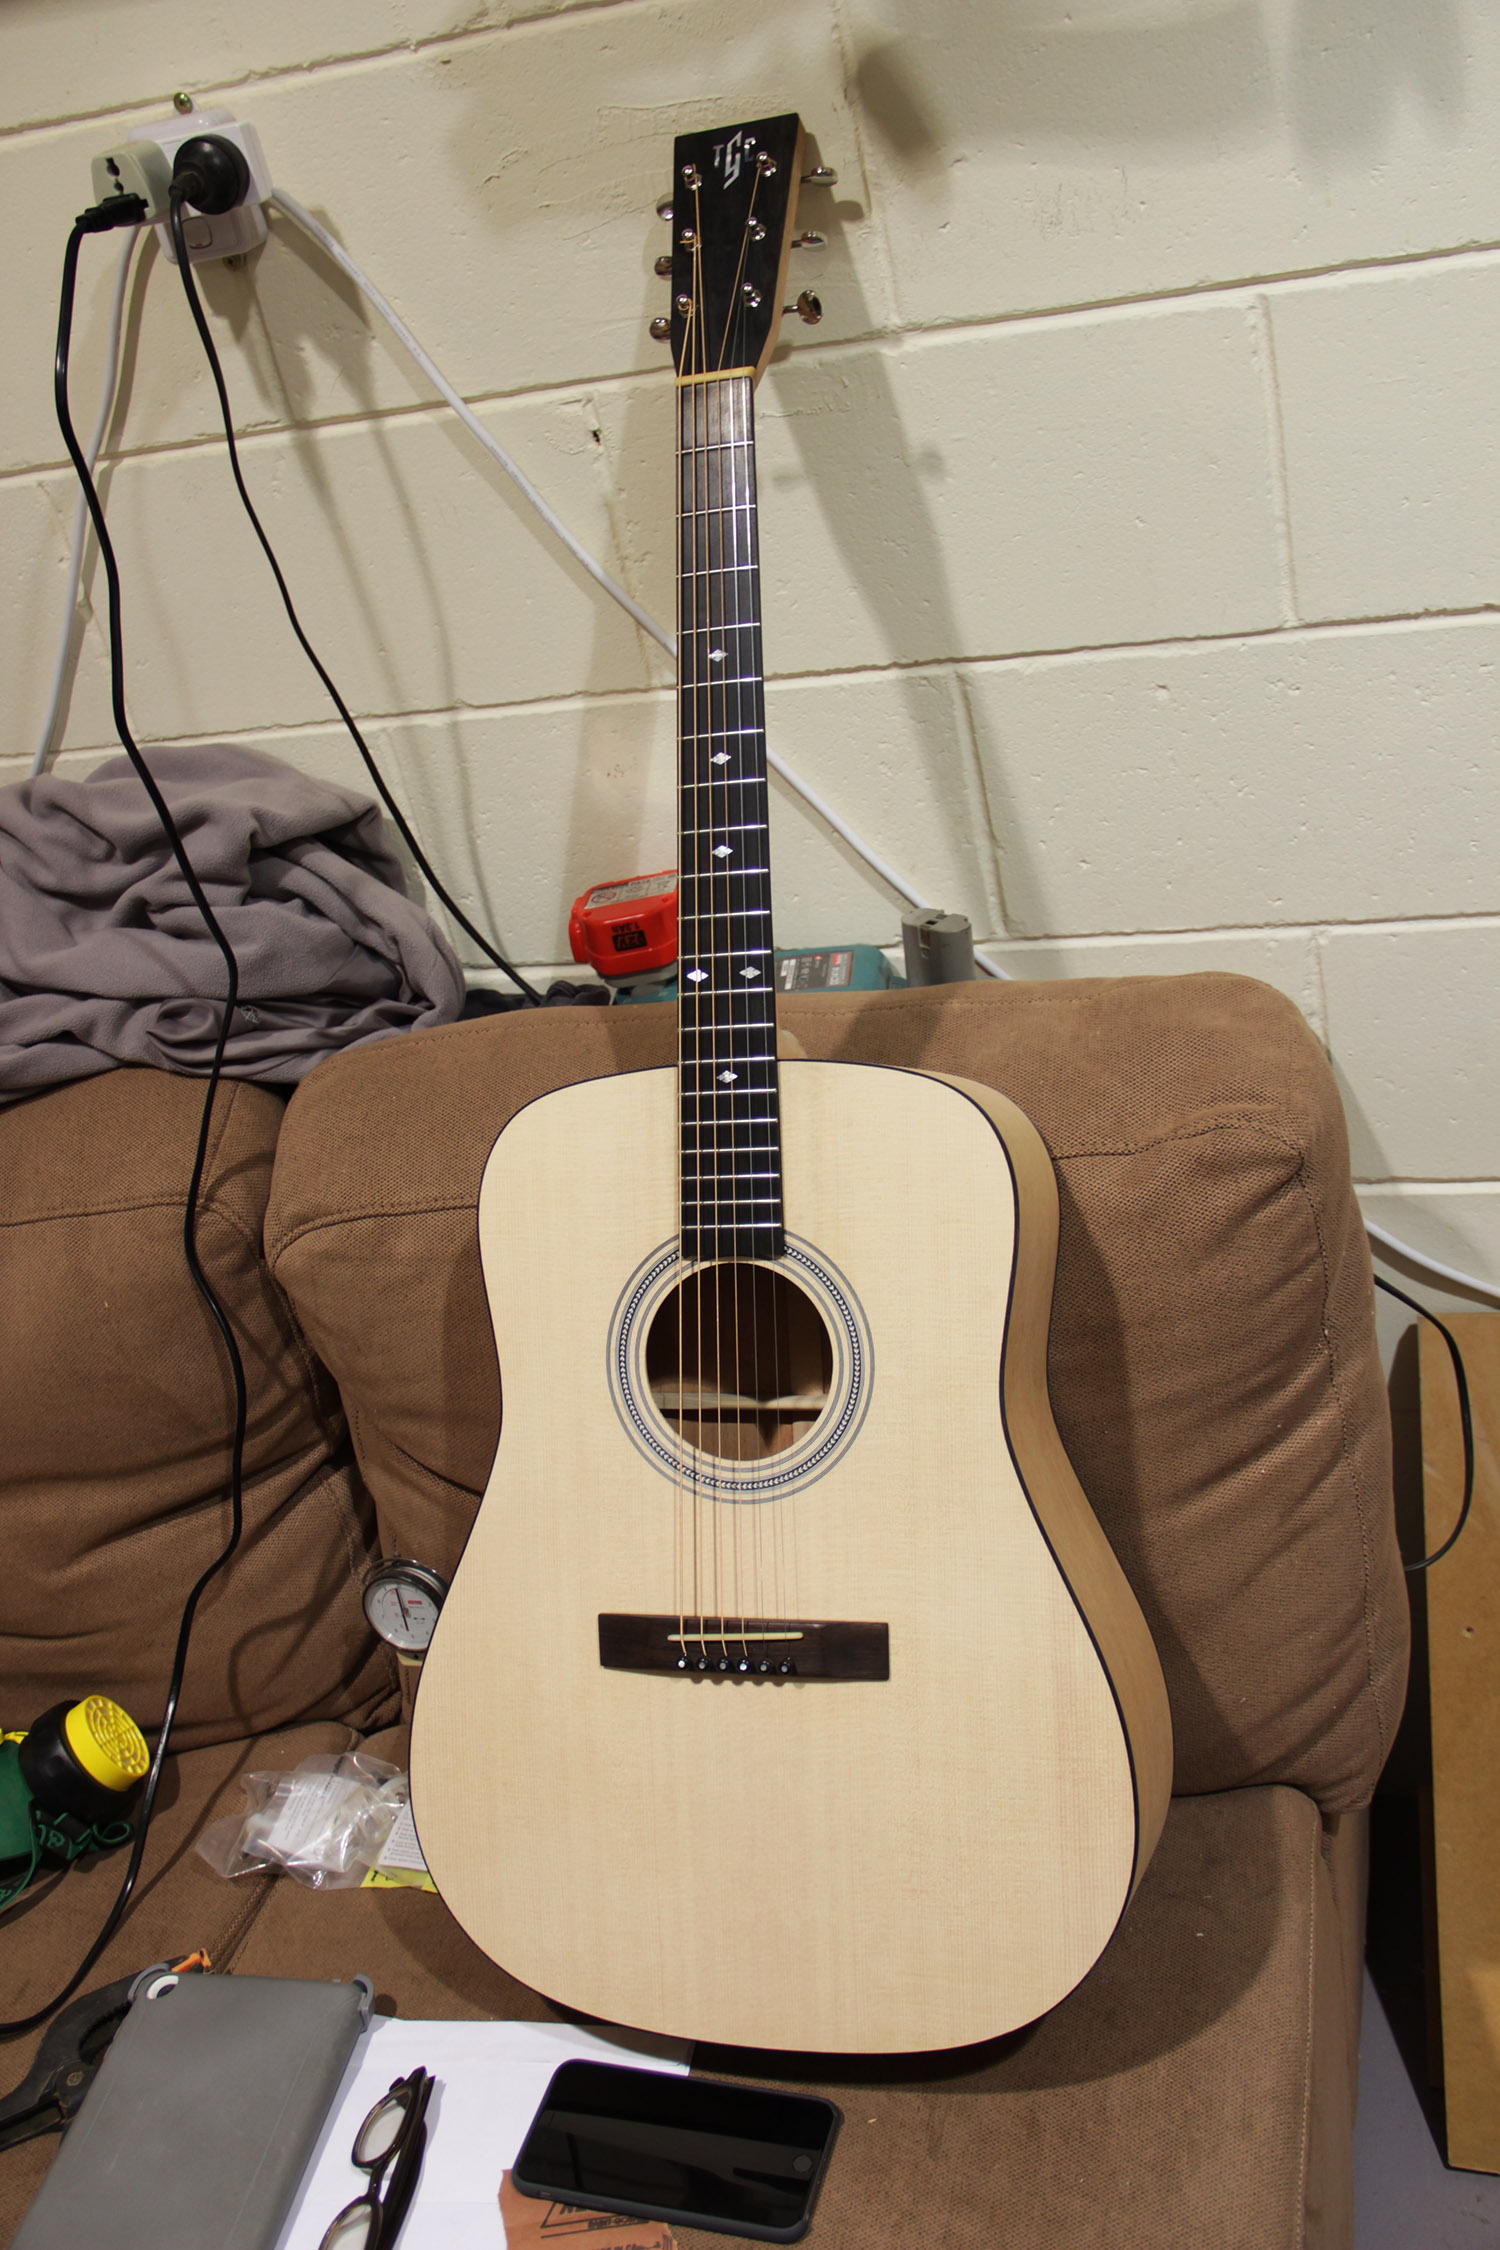
Let’s just all appreciate Tor’s craftsmanship. It’s amazing how the guitars are reflective of personalities as we make our own little decisions on aesthetics. After getting to know Tor in the two weeks, I just thought this guitar suited him very well. Well done, Tor! Can’t wait to see it all polished.
Comments are closed.